
Hi everyone! Today I have Part 2 of the big 12 piece Color Is Magic “My Little Pony” Collection from China Glaze. You can see Part 1 HERE and the Sneak Peek Bottle Shots HERE, and a Sneak Peek at the Collector’s Duo, Songbird Serenade HERE. Swatches for that duo will be up tomorrow.
This is another long, picture heavy post!!

This part of the collection consists of a silver holographic, two jelly based glitter bombs and two sheer toppers.
First up is I Sea Ponies, a silver holographic. This was nice and smooth going on. I didn’t have any dragging or balding at the cuticle line like you would sometimes see with other mainstream holographic polishes. I didn’t need to use a special basecoat, but just my normal one I’ve been using (Sally Hansen Triple Strong, lately). Without topcoat, indoors this looks like a flat, drab looking silver foil. Adding topcoat does bring out some extra sparkle, but it’s still pretty flat indoors. Outdoors or in bright lights is where the magic comes out. I think this is a pretty strong holographic. I’m just so happy to see a mainstream brand doing holo again! I used two easy coats plus topcoat for these photos.
Bottle with flash…

Outside in the sun…

Outside in the shade…

In the lightbox with additional flash…

In the lightbox without flash…

Inside with flash…

I did a quick comparison with other China Glaze Holographic polishes. I used (in order of the bottles and swatch wheel:
- Sexagon from the Kaleidoscope Collection – 4 coats
- OMG from the OMG Collection – 3 coats
- I Sea Ponies from the My Little Pony Collection – 2 coats
- Cosmic Dust from the Hologlam Collection – 2 coats
- Don’t Be A Luna-tic from the Hologlam Collection – 2 coats
- Galactic Gray from the Hologlam Collection – 2 coats
Bottles…

Inside with flash…


Outside in the sun…

Next up is I Just Canterlot. This is a purple jelly base loaded with holographic and silver micro glitter. The other day after painting the swatch wheel I added a bit of clear nail polish trying to tame the syrupy consistency of this polish. It helped some, but it’s still thick and syrupy. I have quite a bit of area to fill in the bottle (evaporation) so I think I will add some nail polish thinner in too, hoping that will work for next time. It’s manageable as it is and the final result is a gorgeous blinged out glitter bomb! Just don’t overload the brush and do thin coats, that will make it easier.
I used two coats on all but my index finger I did three. Three coats is not necessary, it just makes it that much thicker on the nail but it does deepen the color. I also used a matte topcoat on my pinky but that just kills the holo.
This one dries very textured with all that micro glitter. I used a coat of Gelous and a coat of my normal quick dry top coat. That made it very smooth but I have the feeling if I was to wear this for hours it would start to sink in and feel bumpy again. I cheated and used a peel off basecoat on all but my pinky finger. Removal in the scrubby tub of my pinky nail was not difficult, but the polish didn’t even really have time to set all the way.
One tip about China Glaze micro glitter polishes in particular (but this should be a habit for all your polishes!). Make sure the neck of the bottle is entirely clean before storing your polish. For some reason, China Glaze micro glitters have a tendency to evaporate quickly and I think that messy necks are a leading cause of that. I’ve read online a lot of people have had micro glitter polishes evaporate and dry up, but I’ve never really had that happen to mine. But, I keep the necks clean after using them.
So, back to I Just Canterlot. I used two coats plus two coats of topcoat.
Bottle with flash…

Outside in the shade…

Outside in the sun…


In the lightbox with additional flash…

In the lightbox without flash…


Inside with flash…

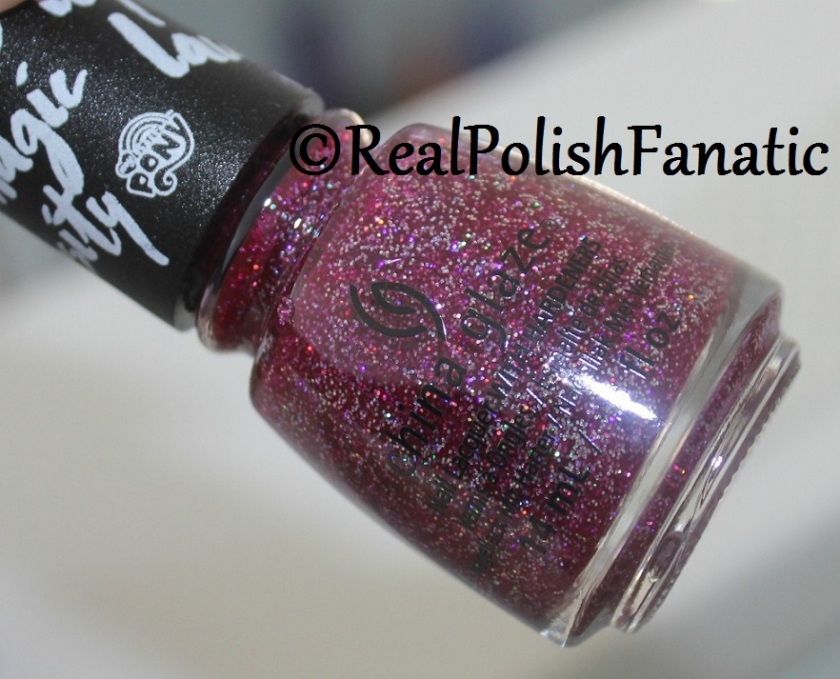
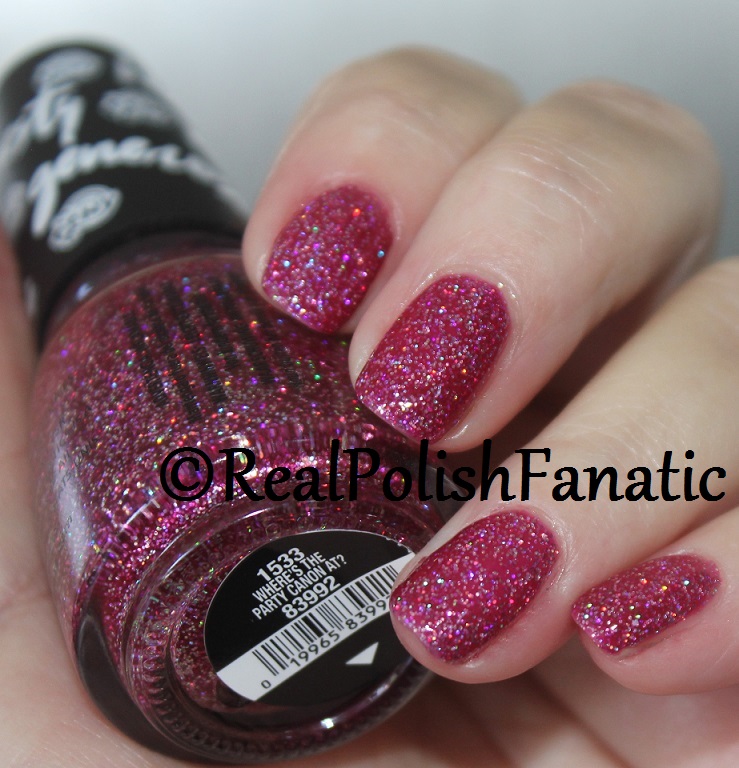
Next is Where’s The Party Canon At? This is a berry jelly base with the same holographic and silver micro glitter as Canterlot. I added a bit more clear nail polish and a couple drops of polish thinner to this one before starting. The thinner helped, I think. This was not as syrupy but it is thick. There is so much glitter in the bottle that I think it will be on the thick side no matter what. Just use thin coats and don’t overload the brush.
It is also textured when dry. My two coats of topcoat smoothed it out, but again, I feel it would sink into the polish at some point and be bumpy if I had worn this for a real manicure. I really love the berry base color of this one! I used two coats and two coats of topcoat.
Bottle with flash…
Inside without flash…


Outside in the sun…


Outside in the shade/indirect sun…


Inside with flash…

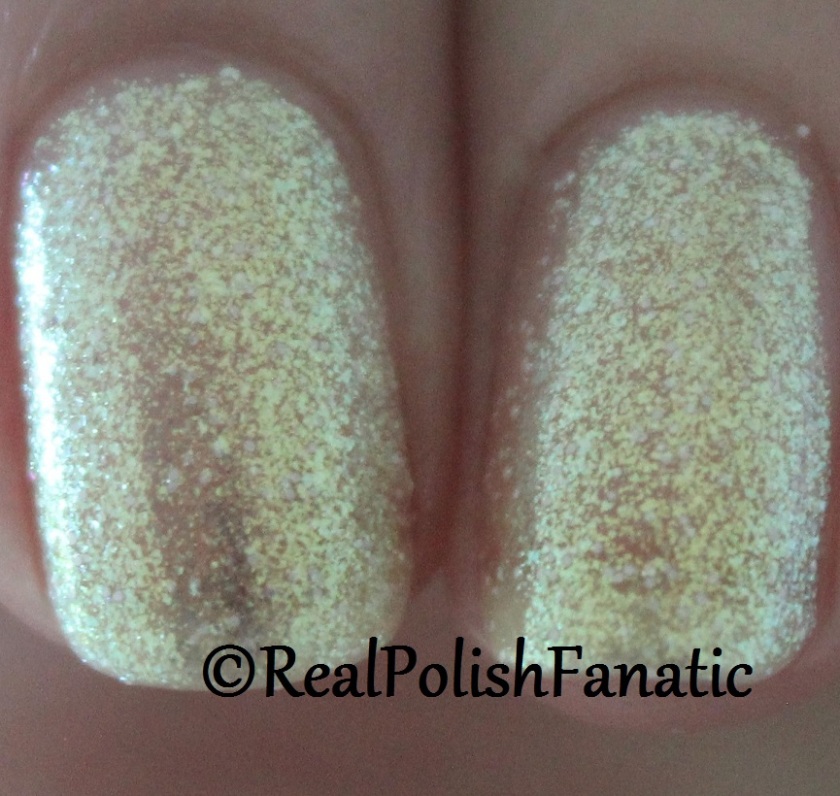
Lastly are the two shimmer toppers. Hay Girl Hay is an interesting polish. It looks white in the bottle but it has a strong yellow gold (almost green at some angles) shimmer fleck and small white matte glitter. This does not look that great on it’s own, but it is especially pretty over the yellow, mint, aqua and even the peachy pink from this collection.
I used two coats without topcoat just to show you what it looks like on it’s own. The plastic swatch ring shows one coat over a black base. Below I have a swatch wheel showing it over the other colors from this collection.
Bottle with flash…

Inside without flash…

Outside in the sun…

Outside in the shade…


Inside with flash…


And lastly is Let Your Twilight Sparkle. This is a barely tinted blue/purple base with pink and purple micro shimmer. It’s very sheer and takes on a duo chrome look with the right “undies”. I didn’t think this would build up on it’s own, but if you don’t mind some visible nail line showing, two thin and a thick third coat actually looked pretty nice. Very soft and ethereal. This is very sparkly in real life. Really beautiful!
I have three coats on by itself on my natural nail and one coat over a black base on the plastic swatch ring.
Bottle with flash…

Inside with flash…

Inside a naturally lit room no additional flash…


I put my niece to work painting a swatch wheel to show you the creme/crelly and shimmer polishes from Part 1 of this collection with the two shimmer toppers on top. She even commented as she was painting the base colors how smooth and easy these were to apply. She said she doesn’t have any polishes as nice as these. (I think she may steal the hot pink neon. If it goes missing, I’ll know where to look!) She’s not obsessed with polish like I am, but she does paint her nails pretty often.
So here is a swatch wheel with two coats of 6 of the polishes from my Part 1 post from this collection and then one coat of Hay Girl Hay, then one coat of Let Your Twilight Sparkle. I left the red off because I don’t think either of these would look good over that base color.
It was hard to capture, but here it is.
Inside without flash…

Inside with flash…

Outside in the shade…

Inside with sun through a window…

Inside with sun through a window. This one shows off the sparkle and shift in Let Your Twilight Sparkle…

So that wraps up the whole 12 piece collection from China Glaze. I really liked all of these polishes! The crelly/cremes had the best formulas, I loved seeing a holographic polish from a mainstream brand, the shimmer toppers, especially Hay Girl Hay, are so pretty, and I love jelly based glitter bombs!
If you can think of any polishes you’d like to see a comp from in the whole collection, let me know in the comments and if I have it, I’ll compare it for you!
Watch tomorrow for the swatches from the Songbird Serenade, a special collector’s edition Duo. I have links at the top of this post to my other blog posts about the My Little Pony Collection.
Well, there we have it!
Thanks so much for stopping by!
The polish in this post is from my own collection and was purchased by me.
©2017 RealPolishFanatic / All Rights Reserved
If you like what you see,
please take a second to push the
“Like” button at the bottom of the post
and follow me so you never miss an entry!
About Me & My Blog
My blog is a beauty based blog, specifically about Nail Polish: Nail Polish swatches, Nail Polish comparisons, Nail Polish collections, my Manicure of the Day. All content and photos are my own property and cannot be used without my express written consent.
My name is Paula and I live in California right now with my hubby of many years and Chico my “baby”. You will see him featured periodically at the end of a post (the dog, not the hubby).🙂
I would love to hear from you!
Happy polishing!!
♥Paula

This is a great post – lovely to see the swatch wheel comparisons. Shame that the formulas on the glitters are such hard work x
LikeLiked by 1 person
Thank you so much! Those jelly based glitters are a bit of work, but worth it in the end I think! They are really pretty and so sparkly! ♥
LikeLiked by 1 person
Very informative! I have my eye on both of those shimmer toppers. 🙂 Thanks for all the swatches and comparisons.
LikeLiked by 1 person
Thank you! Those are great toppers! I saw a picture of someone who put Let Your Twilight Sparkle over I Sea Ponies (the silver holographic) and it looked so good! I need to try that combo!!
LikeLike